Monday 22 October 2018

Managing and running the oracle JET project using NetBeans IDE

This below post we will see, how to build and run the Oracle JET application.

Open the project in netbean IDE, which will looks like the below


Right click on the project root folder and selecting the Build command like the below


The Build option prompts you to configure project actions to call Grunt tasks from within NetBeans IDE. Click on Yes to open the configuration window.


Select all the checkboxes and click OK to run Grunt commands enabled in the project actions


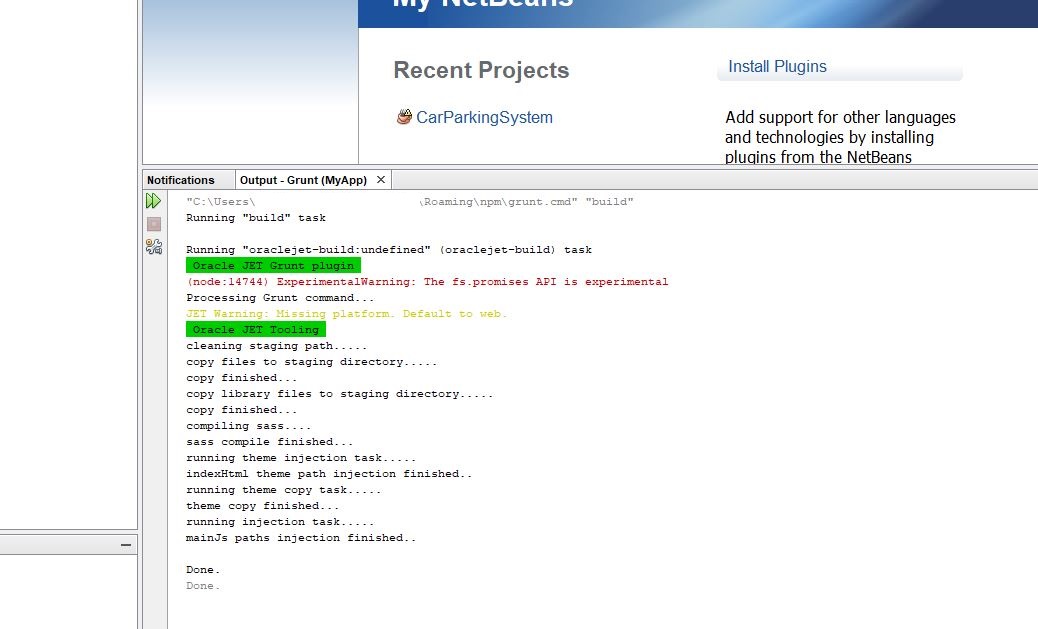
Right click on the project root folder again and click on the Build option to let Grunt build the project within the IDE like the below 


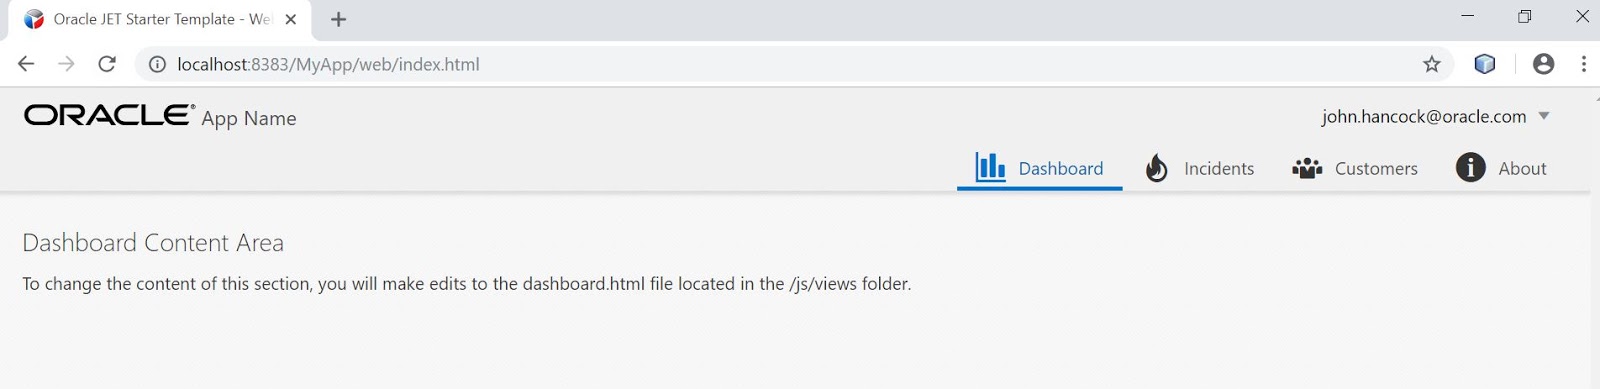
Now built is done, select the project by clicking on the project root folder, and choose the Chrome option from the menu icons as shown in the below screenshot


It will prompt you to select the start file and you can choose the web/index.html as the start file for the project. Click OK to run the project

The application should open and run in the Chrome browser.
Note: For first time, it will ask you to install the Chrome NetBeans connector plugin; click Yes and install it.


Note : Make sure you always make code changes in the src directory only, and if you make changes to the resources under the web directory, they will be lost in the next build. Once grunt build is successful and the web directory is updated with the latest changes, we can run the grunt serve command to deploy the application and review the output on the browser.
 
Thanks..

Wednesday 10 October 2018

Setting Up an Oracle JET Application

JET stands for JavaScript Extension Toolkit . The below steps we need to follow to setting up an Oracle JET application

1. Download the latest version of Node JS from https://nodejs.org/en/ and Install it. 
2. Now check the installed version of node js. It must be more than 5.  


3. Install the Oracle JET Command Line (ojet-cli) tool. Run the below command

npm -g install ojet-cli

The ojet-cli tool installs and uses popular JavaScript tools, such as Yeoman and Grunt.

4. The -g argument in the previous step should have installed the ojet command globally, so that you should be able to run ojet anywhere, i.e., not in any specific folder or location since the ojet command should now be globally available. To try it out, run the following:

ojet help


The terminal window should now show all the commands available to be used with ojet. If not, you can manually configure the PATH of your system to include ojet-cli.

5. Now you can create an Oracle JET application.

ojet create MyApp --template=navdrawer


The application structure will create like the below 

Once the application is created, use the terminal window to navigate into the root folder, i.e., the top folder, which is named MyApp, and build and serve the application, as follows:


After run the screen will looks like 


Thanks..!!